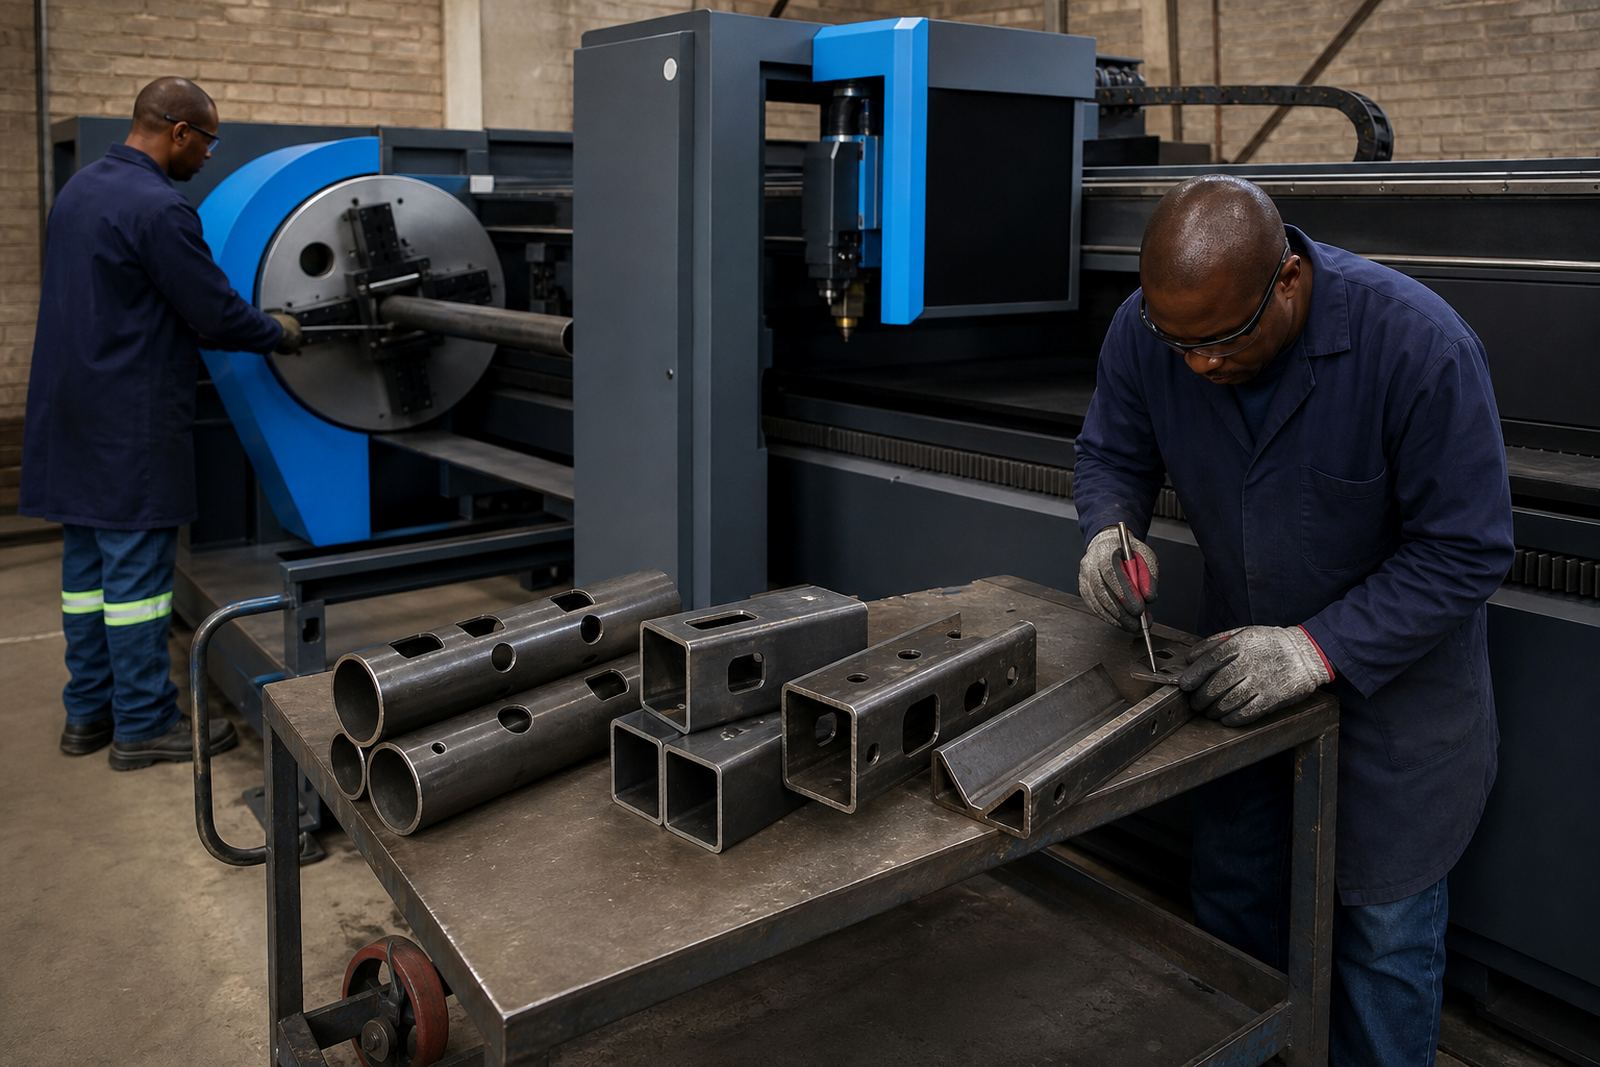
Marking that survives handling, stacking and transport
When tube parts leave a laser cutting machine, they rarely stay in one neat row for long. They get stacked, moved, banded, packed into pallets and shifted between cutting, bending, welding and assembly. A marking method has to survive all of that without becoming unreadable after a few knocks.
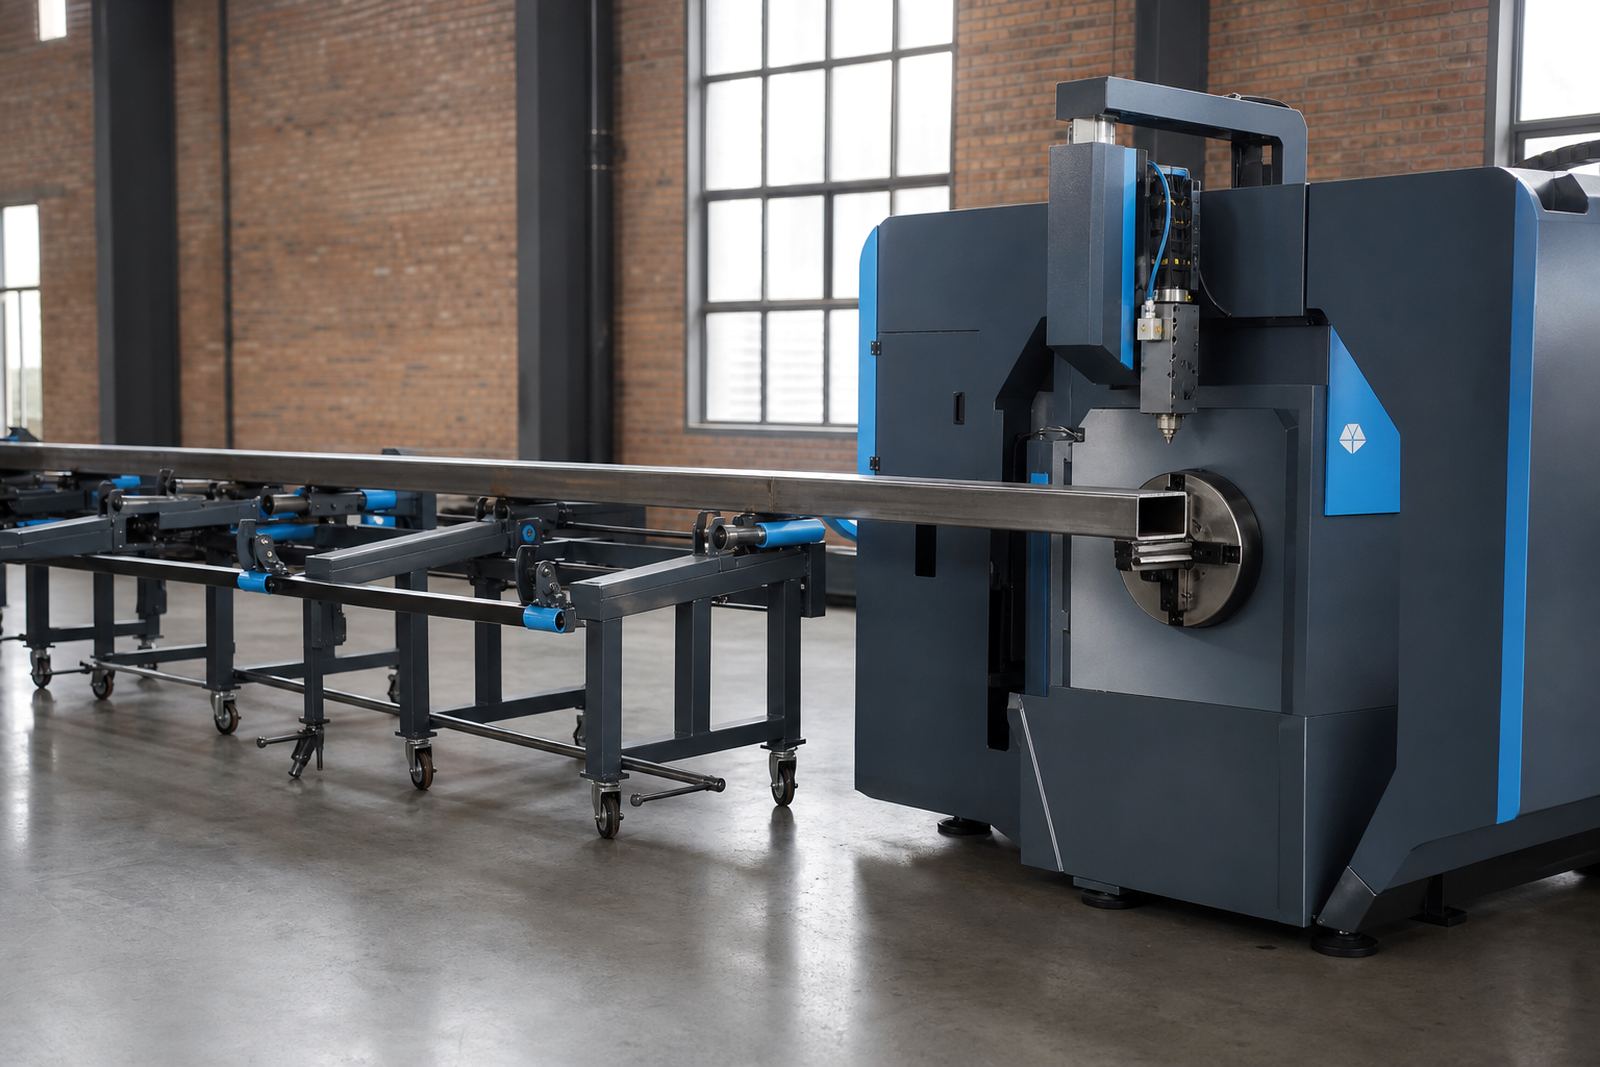
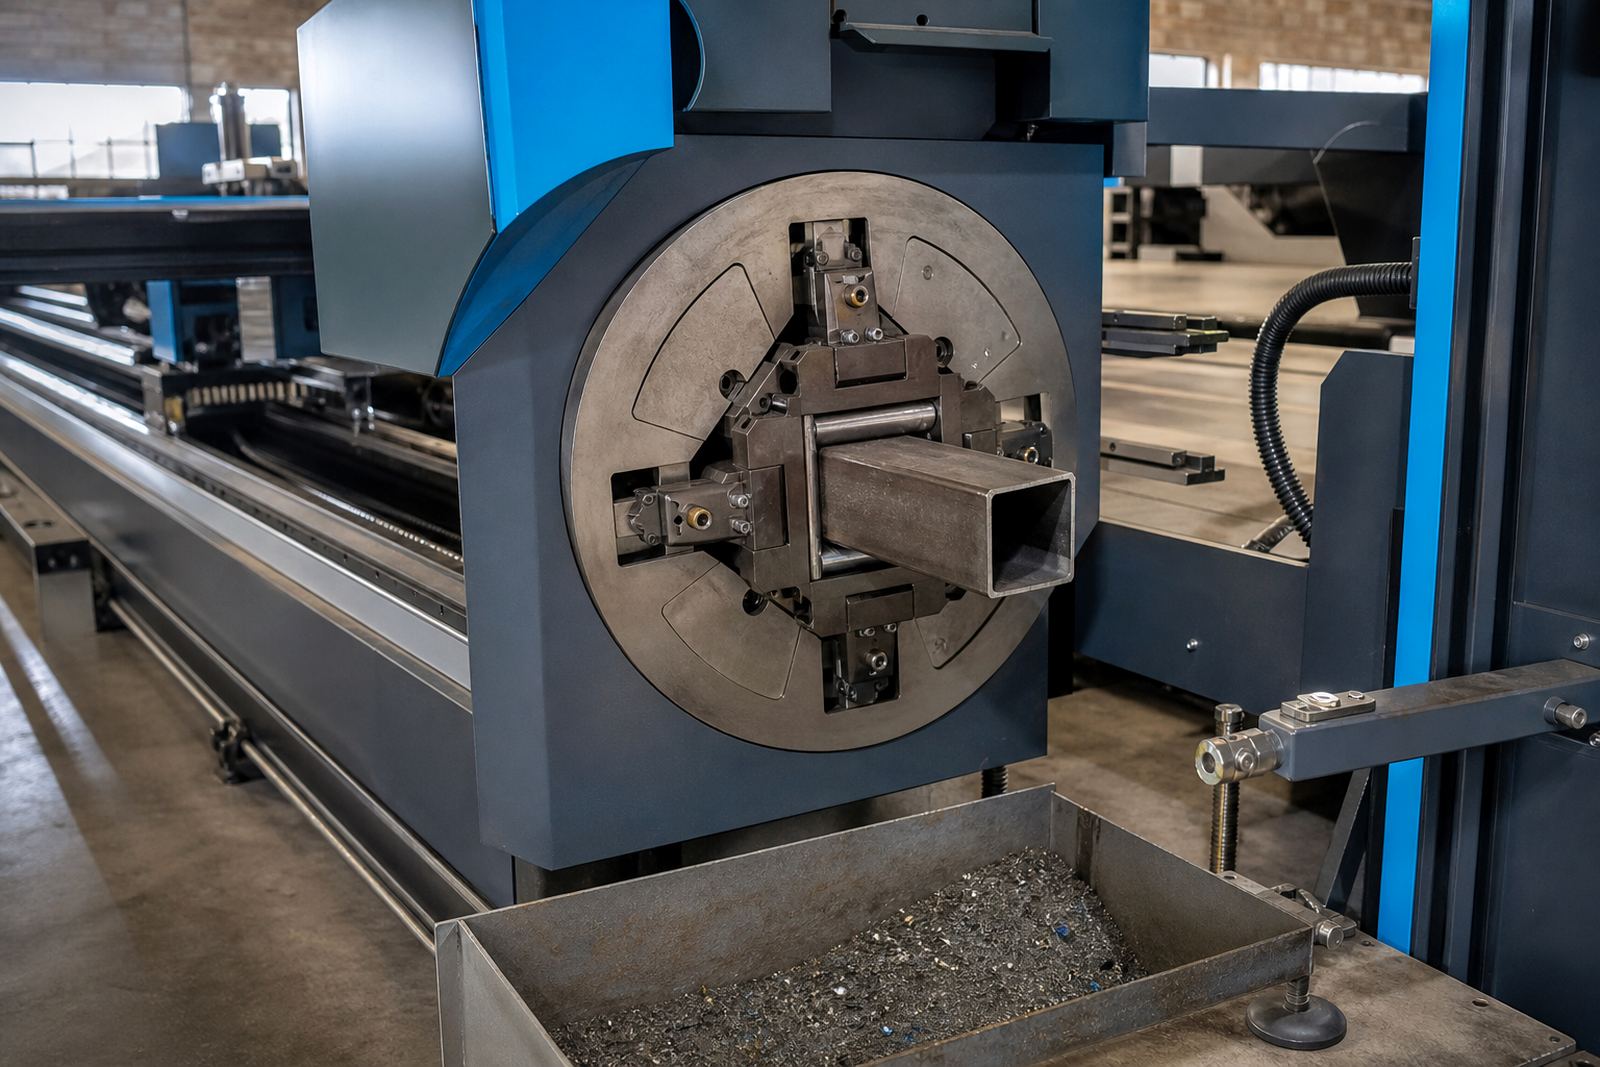
For round, square and rectangular tube, and for angle or channel sections, the main challenge is the curved or narrow surface. A mark placed in the wrong spot can be hidden under a clamp, face inward after rotation, or sit where grinding and welding will erase it. We plan good marking with the cutting nest so it is placed correctly from the start, not put in later once the layout has already been set.
On local jobs in Wadeville, it is common to see a mixed pack of brackets, gussets, short tube lengths and profiled sections heading to different bays. If the marking is weak, the team spends time sorting by guesswork. That is where a clear method pays for itself in fewer mix-ups and cleaner handover to assembly.
The marking methods fabricators normally use
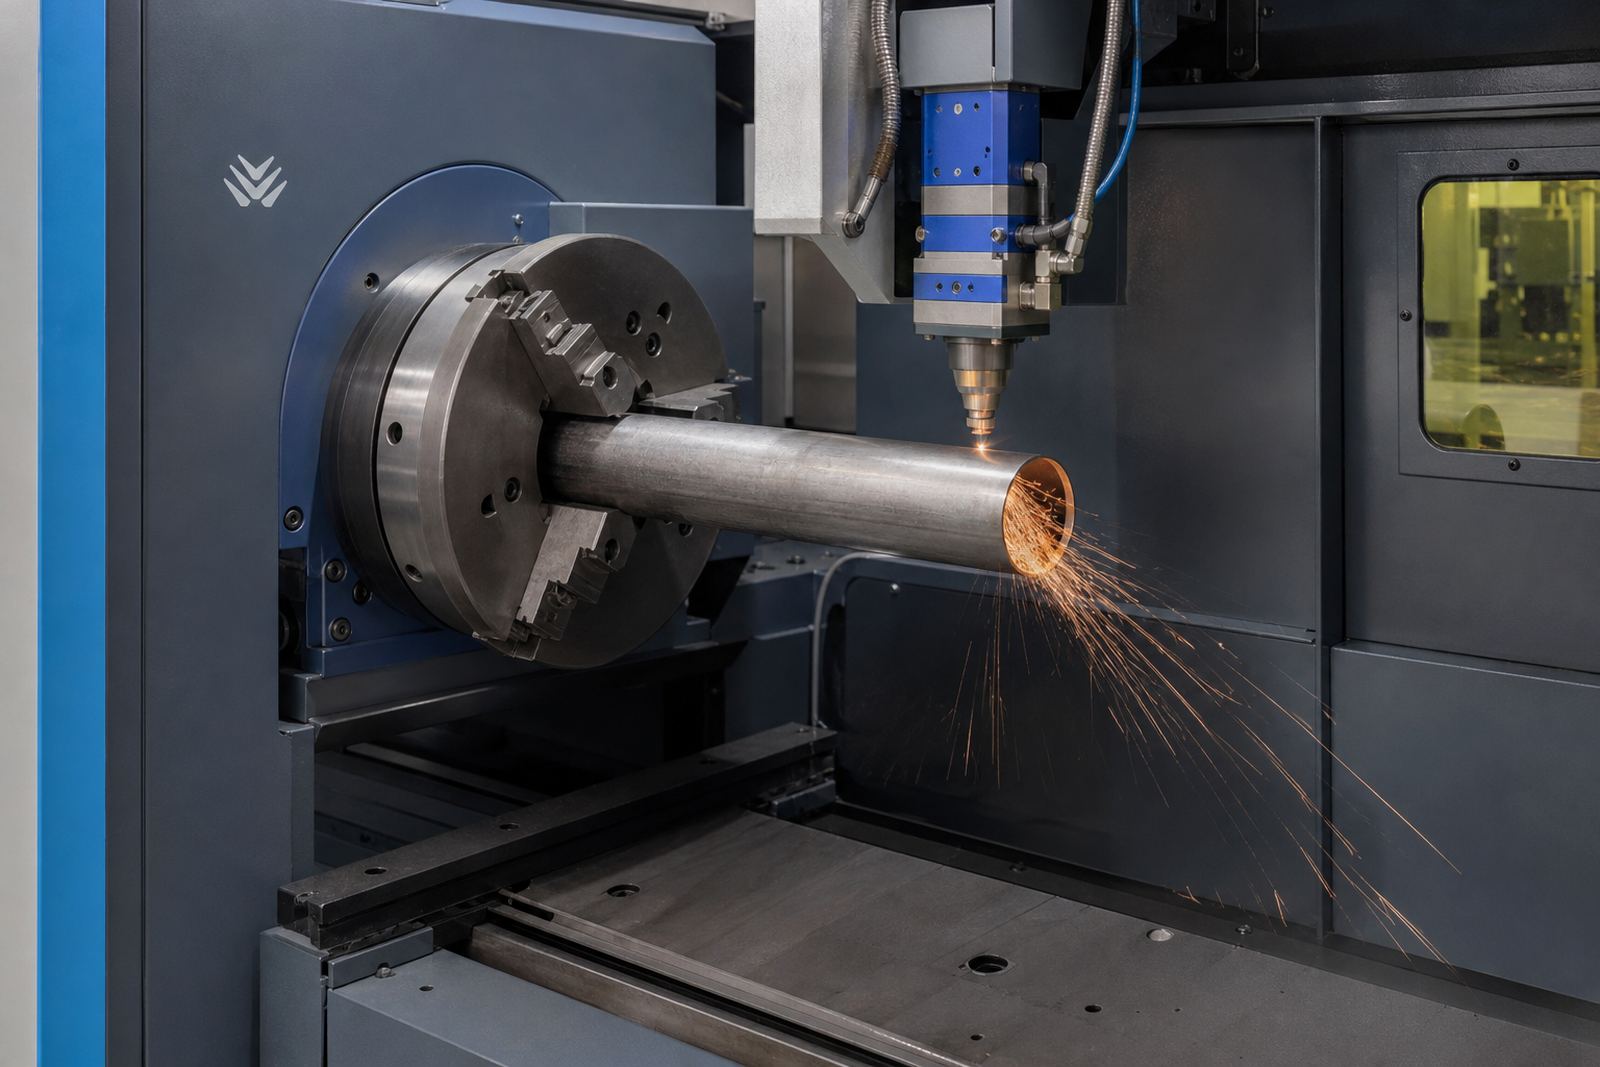
Different jobs call for different part marking options. Some are meant for permanent traceability, others only for workshop sorting. A tube cutting setup can place marks during the same cycle as the cut, or the mark can be added in a later step depending on the material and the finish required.
- Light engraving on the part surface for visible part numbers
- Dot or line marking for fast sorting on batches with many repeats
- Label plates or tags tied to packs when the surface must stay clean
- Paint pen or stamp marks for low-cost workshop identification
- Barcode or QR style labels for job cards, where the process is organised around scanning
Laser marking is usually preferred where the part needs a durable identifier that does not rub off in handling. Labels suit packed bundles and plated items, while stamps can work for rough fabrication but are not ideal where finish matters. The right method depends on the end use, the material thickness and how much post-processing the part will see.
How part marking fits into the cutting program
Marking works best when it is built into the nesting software and the machine program from the start. That way the operator can place part numbers, job codes and orientation marks in positions that do not interfere with welding tabs, edge prep or later machining. On tube, the mark often needs to sit on a face that remains visible after assembly.
For profile cutting, the software can place mark lines near the part edge or inside a scrap zone. For tube, the program may place the mark on one face only, or repeat it on more than one side where the job demands it. That helps when a bundle is broken up at a site in Pretoria or a fabrication yard in Durban, and the parts need to be sorted fast without searching through a pile.
Bevel heads add another detail. If a part carries a bevel for welding, the marking has to stay clear of the prepared edge. A careless mark can interfere with fit-up and force a rework step. Good programming avoids that by keeping the mark position linked to the part geometry.
Selecting a marking method to suit your production mix
There is no one marking option that suits every fabrication floor. A workshop making conveyor parts, structural members and light assemblies on the same machine may need three different marking styles across the week. The right choice depends on how the parts move after cutting, who reads the mark and whether the mark must survive painting or galvanising.
- Short-run jobs often need clear part numbers and orientation marks
- Batch work benefits from repeatable codes that match the cutting list
- Assembly-driven jobs need marks that stay visible after welding
- Outdoor or coastal work may call for a mark that survives cleaning and coating
- Jobs with many similar parts need a mark that is easy to read at a glance
For example, a structural fabricator in Gqeberha handling square tube handrail frames may need the same part code on every leg and rail, while a machine frame job in Johannesburg may need only a discreet identifier on hidden faces. The point is not to over-mark every piece. The point is to mark enough that the shop keeps its order.
Safety and material care around marking
Marking should not weaken the part or interfere with downstream work. On thin tube, a heavy mark or repeated heat in one spot can leave a visible scar that looks poor after coating. On stainless or finished aluminium, the wrong method can leave residue, staining or a surface that needs extra cleaning.
Assist gases and cutting conditions also matter. Clean cutting leaves a better edge and makes the mark easier to read. If the gas setup is poor, soot or dross can cover the mark, and the team ends up wiping each part before sorting. That is wasted time. The same goes for safety. The marking process has to sit inside the normal guard, extraction and handling routine, not outside it.
When a job involves small parts, sharp edges or mixed packs, the marking method should be tested on one sample before the full batch runs. That keeps the result readable without creating extra handling on the line.
Mixed tube batch marking in Wadeville
In Wadeville, a metal fabricator might cut a batch of round tube spacers, square tube legs and channel brackets for different orders in the same shift. Without marking, the bundles can look nearly identical once they are cut and stacked. A fitter on the floor then has to sort by length, hole pattern and memory, which is never a good use of time.
With a proper marking plan, each part leaves the machine with a clear code linked to the nesting list. The cut batch goes to the welding bay with less sorting, fewer questions and less chance of a leg ending up on the wrong frame. That matters even more when the parts are sent out to another site in Cape Town or loaded for a build in Bloemfontein, where the receiving team may not know the original cut sequence.
For shops doing both tube and profile work, the mark also helps when offcuts are kept for later use. A labelled remnant rack is far easier to manage than a stack of unmarked lengths that all look useful until someone measures them again.
Keeping the marking process practical on the shop floor
Part marking should support production, not add confusion. The right setup is one your team can work with confidently, without having to stop and check themselves. That means matching the marking style to the job card, training operators on where to place it and checking that the mark stays legible after handling and finishing.
LaserTube works with fibre laser tube and profile cutting machines, installation, operator training, nesting training and preventive maintenance for fabricators across South Africa. For shops in Johannesburg, Pretoria, Durban, Cape Town, Gqeberha and nearby areas, the marking plan often becomes part of the broader machine setup, along with chuck alignment, bevel calibration and assist gas setup. When those pieces sit together properly, sorting and assembly stay orderly from the first cut to final fit-up.
Part marking is not only about labels. It is about keeping mixed batches under control when the shop gets busy and the parts start moving.