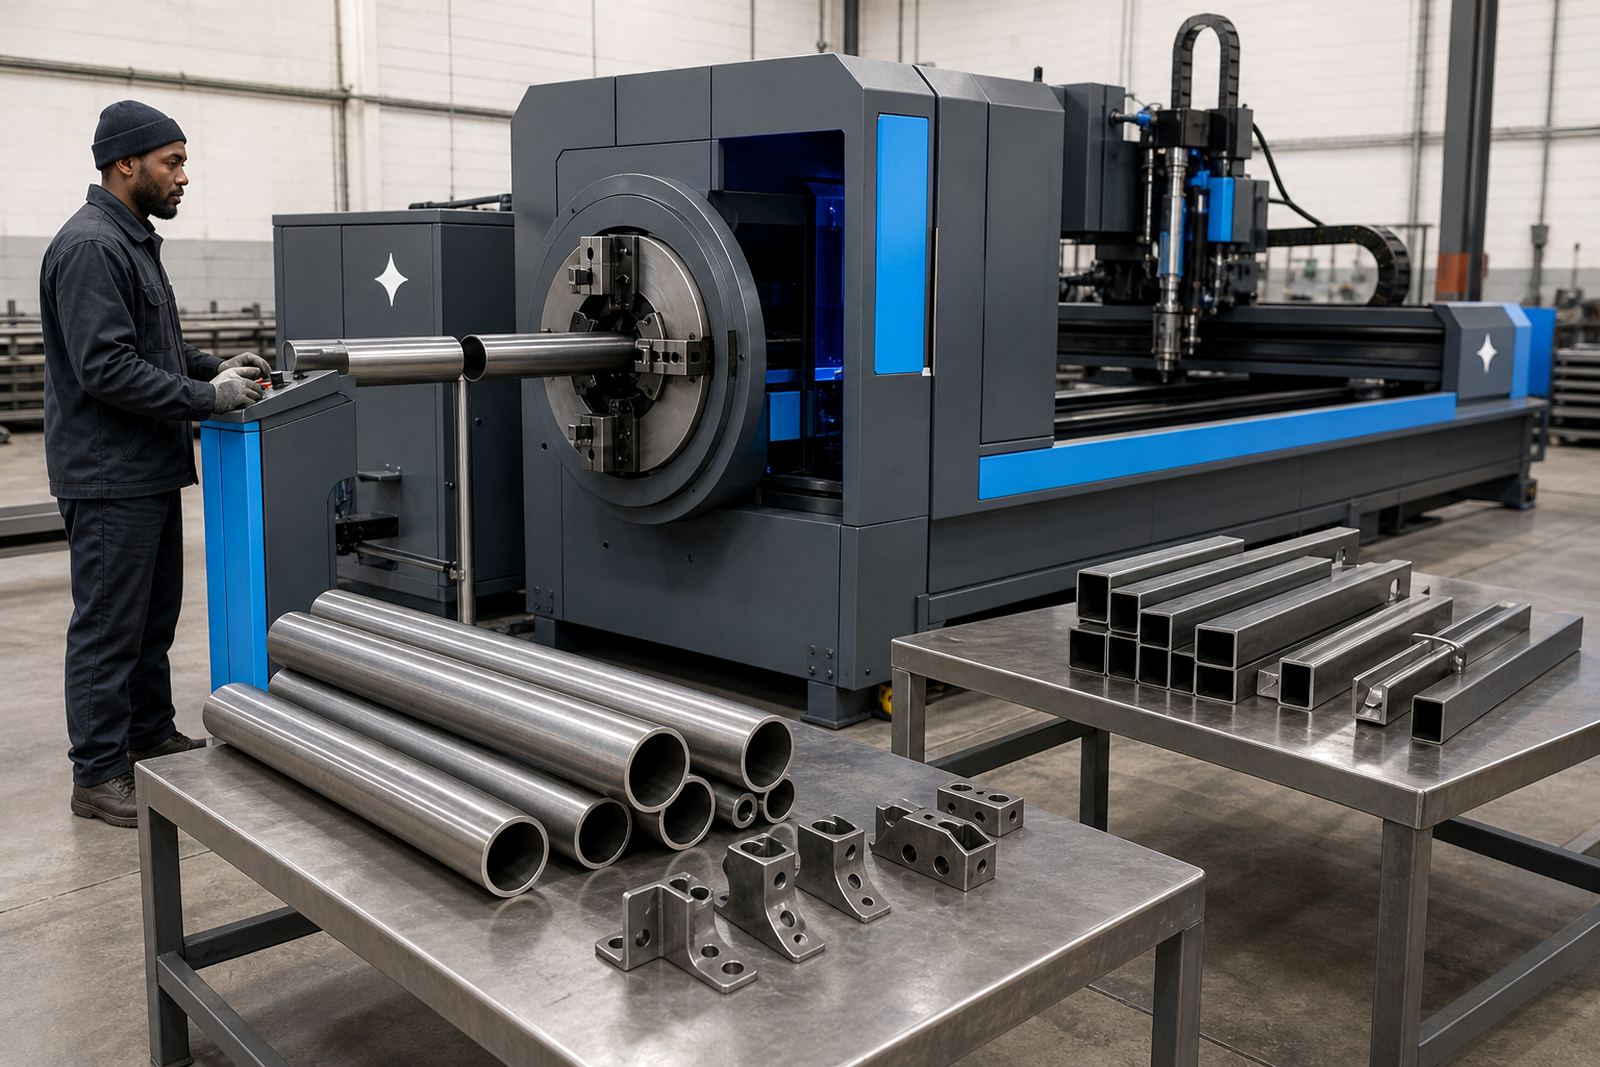
The brief from a busy exhaust bay
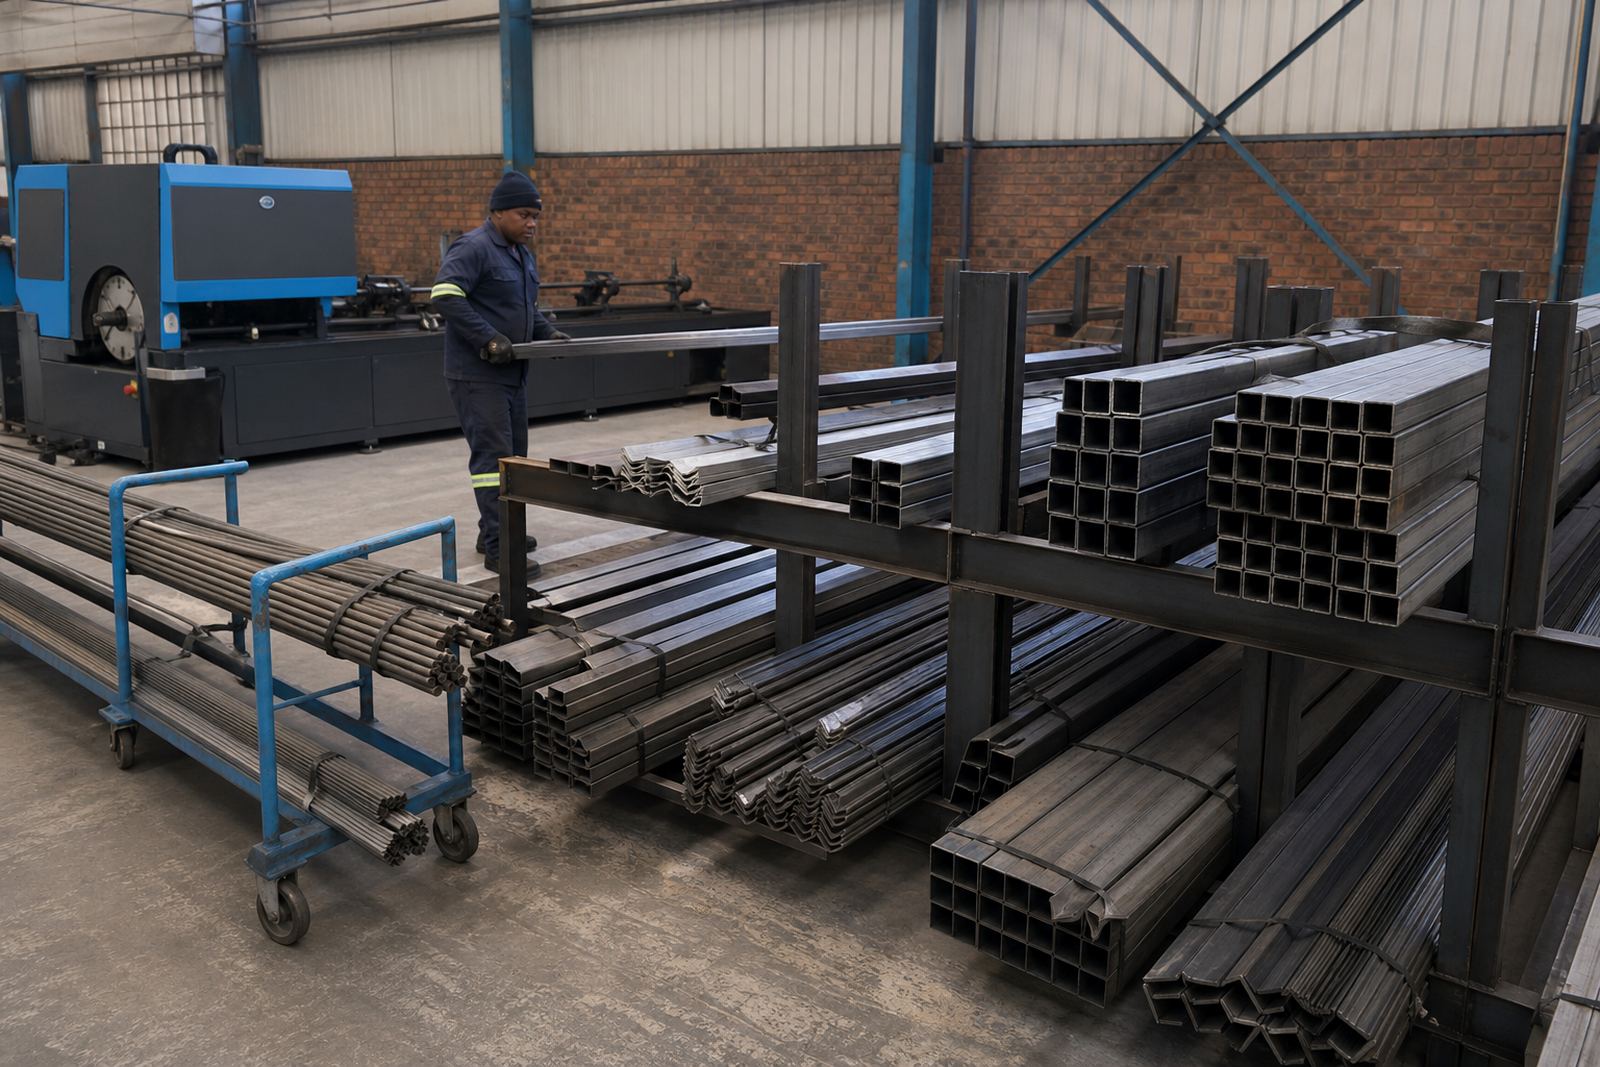
The fabricator worked with short batches of round tube, square tube and rectangular tube, plus light angle and channel for brackets and support pieces. The job changed often, with one-off repairs one day and repeat assemblies the next, so the cutting process had to keep tolerances steady even when the drawings were not perfect.
The main request was accuracy. End cuts had to fit cleanly, notched joints needed proper registration, and the team wanted fewer hours spent trimming by hand. Material offcuts were another concern because short-run work can leave a shop with awkward lengths that are hard to reuse if the nesting is not planned properly.
- Work mix: exhaust tubes, small brackets, mounting pieces and spacer parts
- Material profile: round, square and rectangular tube, plus angle and channel
- Output need: cleaner fit-up with less hand finishing at assembly
- Practical goal: reduce scrap on short production runs
What the Uitenhage site needed to handle
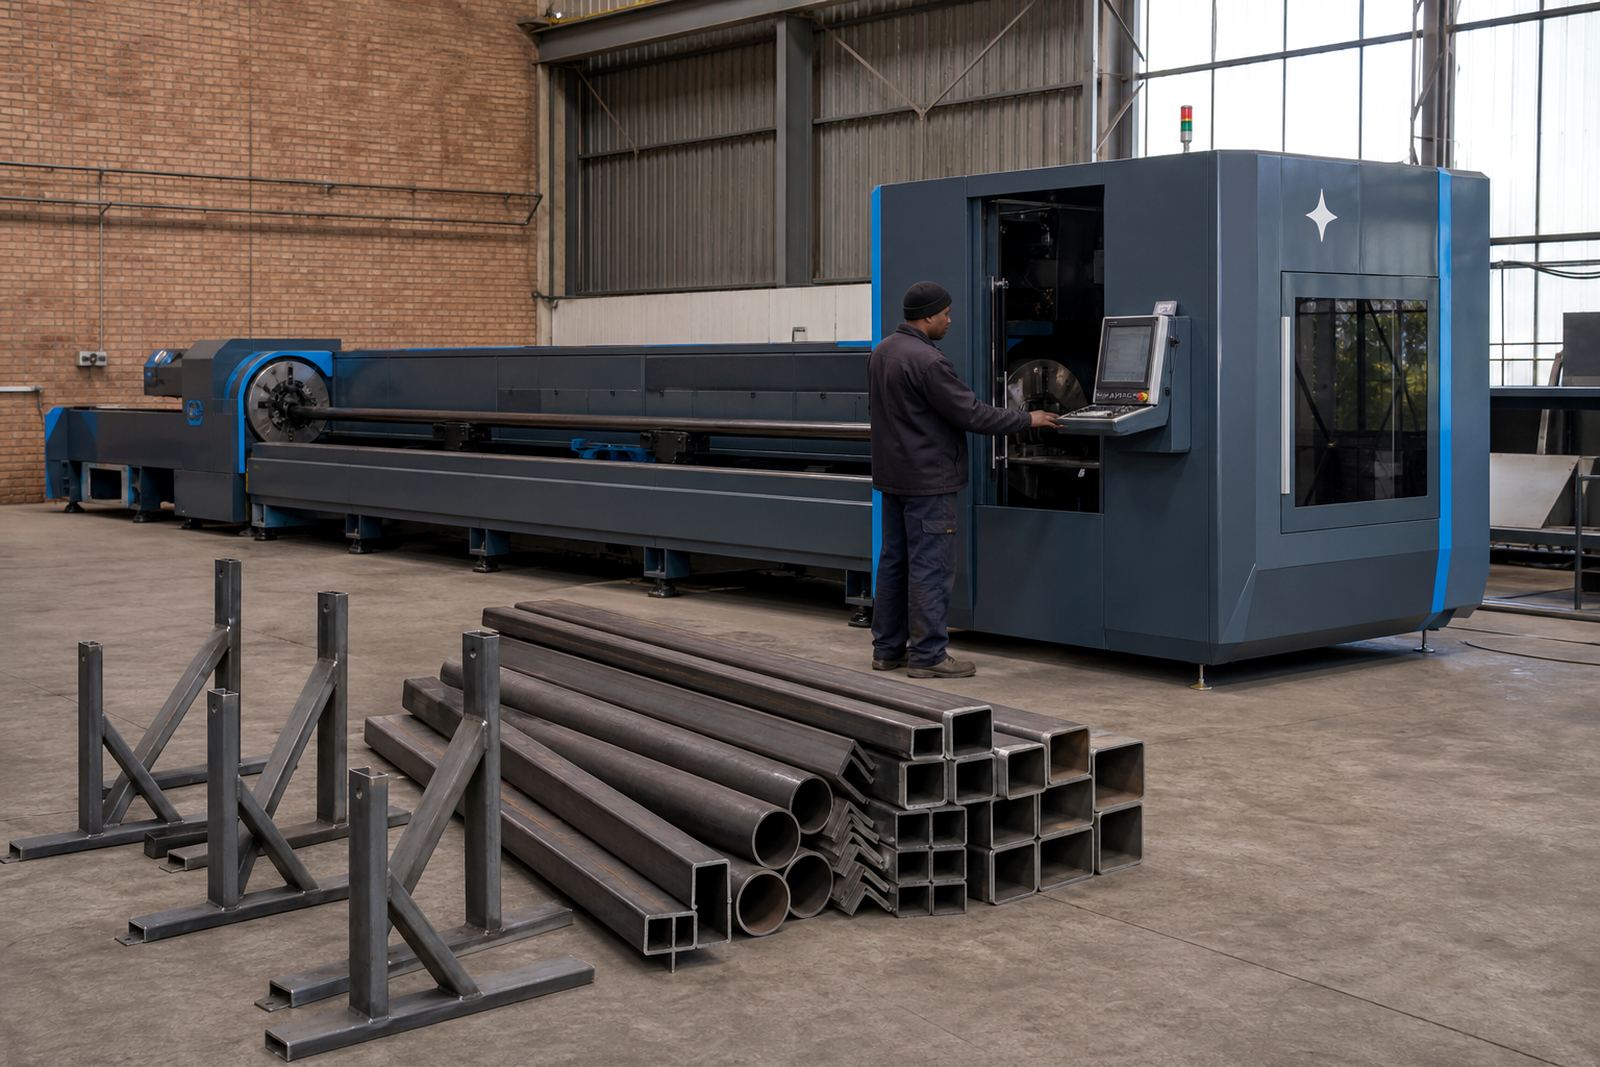
The workshop floor was tight, with material handling moving between cutting, deburring and assembly zones. That meant the machine layout had to suit safe loading, clear part transfer and enough space for operators to work around the bed without crowding. For exhaust parts, small differences in cut quality show up quickly at welding, so the setup had to support consistent clamping and repeatable chuck alignment.
We also had to account for mixed wall thicknesses and frequent job changes. The team needed a machine that could handle tube and profile work without lengthy setup changes between part families. A bevel head was part of the specification, because some joints needed edge preparation for better weld access and tighter assembly in cramped exhaust sections.
- Floor space: compact layout for a working fabrication shop
- Workholding: chuck control for repeatable tube rotation and location
- Cut quality need: accurate end forms and clean joint preparation
- Production reality: quick changes between short job batches
The machine and process setup we supplied
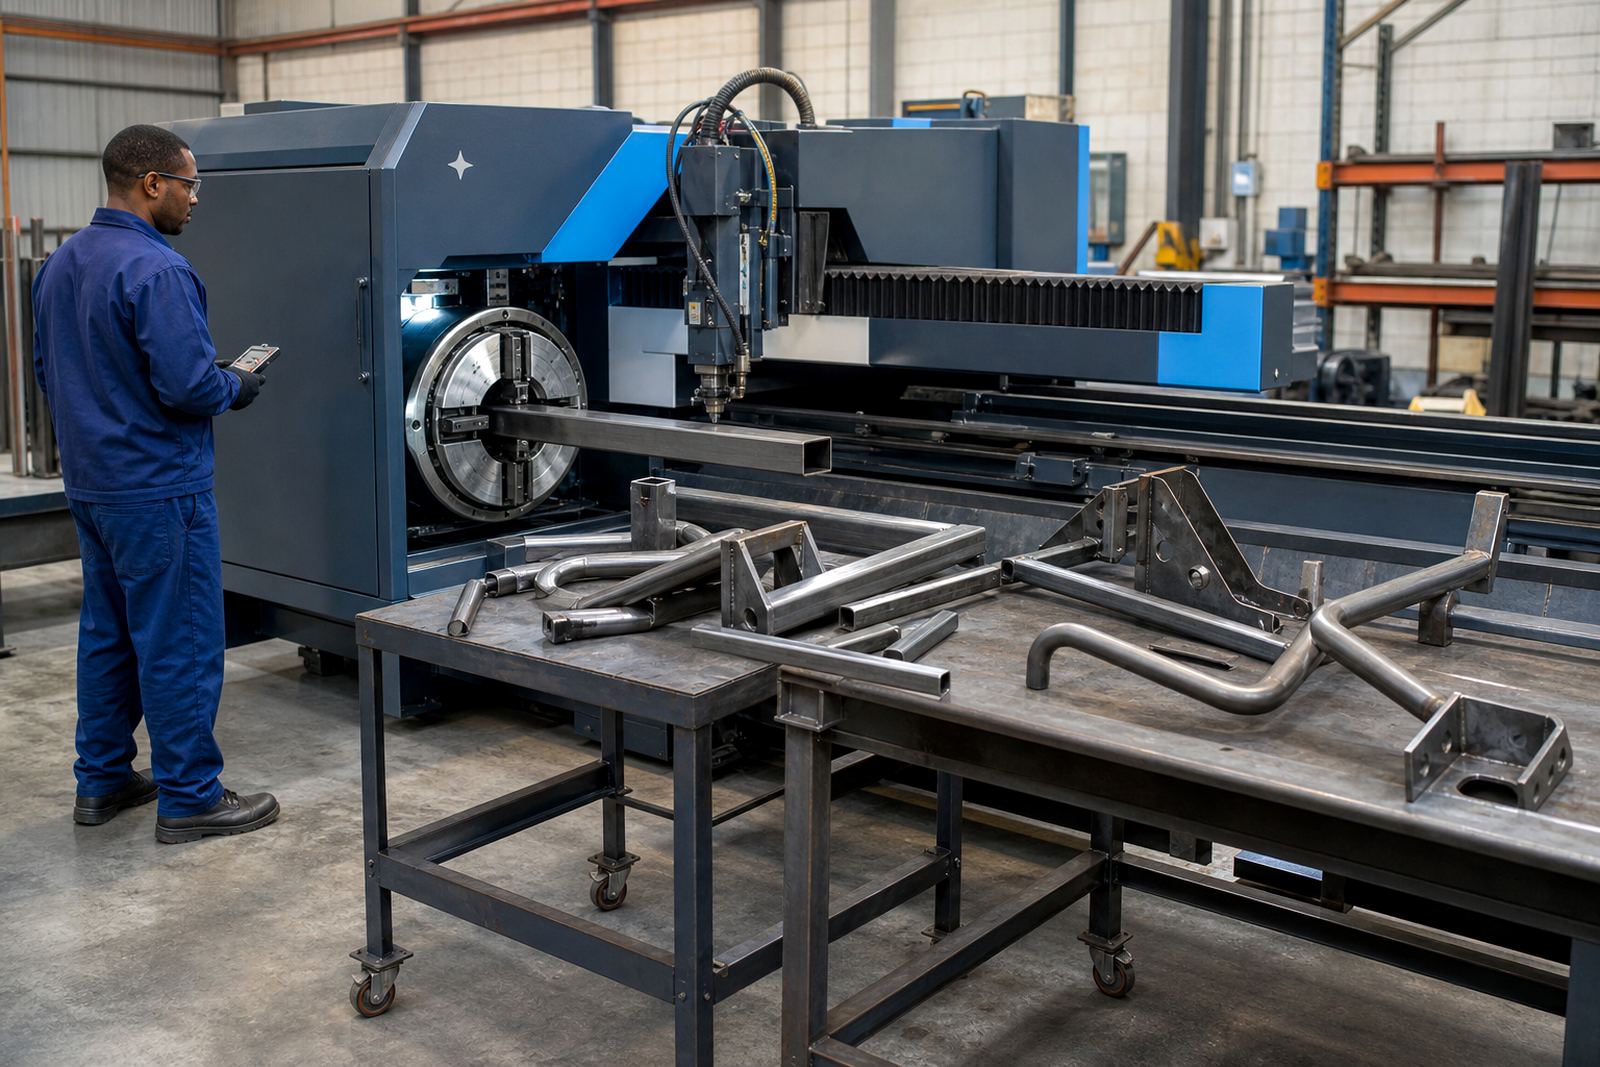
We supplied a fibre laser tube and profile cutting machine with chucks suited to common fabrication tube sizes, nesting software for job planning, and a bevel head for parts that needed angled preparation. Assist gas settings were configured for the material range the shop handles, with attention to cut edge condition, dross control and safe gas use at the machine. Safety guarding, interlocks and operating checks were included in the commissioning process.
The installation team handled positioning, levelling, connection checks and machine handover on site. After that, the applications work focused on practical part layout, clamping sequence and how to place jobs in the software so that short lengths were used efficiently. The operators were shown how to set up common exhaust profiles, read the cut sequence and keep an eye on edge finish on tighter joints.
- Cutting scope: tube and profile parts for exhaust assemblies
- Key functions: nesting, chuck alignment and bevel calibration
- Gas setup: assist gas selection and pressure control for the cut process
- Training focus: operator routine, part layout and safe daily checks
How the installation unfolded over three weeks
Over three weeks, we took the project from delivery planning through to production handover. The first week covered site assessment, machine placement planning and rigging access. The second week was used for delivery, positioning and installation of the machine, followed by commissioning checks on rotation accuracy, cut path and basic safety systems. The third week focused on operator training, nesting training and live part testing with the workshop team.
During the test runs, the team worked through typical exhaust components and checked how the machine handled short lengths, hole positions and joint profiles. Small adjustments were made to chuck alignment and bevel settings so the first production batches would reflect the way the shop actually builds assemblies. That hands-on step mattered, because exhaust fabricators need parts that fit the jig the first time, not after a lot of dressing and rework.
- Week 1: site assessment and rigging plan
- Week 2: delivery, installation and commissioning
- Week 3: operator training, nesting training and test cutting
- Final step: production handover with live job setup
What changed on the shop floor
After commissioning, the fabricator had a cleaner route from drawing to cut part to assembly. Tube ends came off the machine with more consistent geometry, which meant less filing and grinding before fit-up. The nesting work also improved yield on shorter stock lengths, so the shop could plan jobs with less waste at the offcut rack.
The team found that repeat parts stayed more consistent across batches, even when the work list changed from one exhaust run to another. Bevel preparation helped on joints that needed better weld access, and the operators gained confidence with the software side of the process. The machine became a standard step in the workflow, and more than one person could run it with confidence.
- Cleaner fit-up on tube assemblies
- Less manual trimming before welding
- Better use of short stock lengths
- More repeatable parts across small batches
What we would apply to a similar exhaust job
For a job like this, we would start with the actual mix of parts, not the drawing set alone. Exhaust shops work with odd lengths, repair work and urgent one-off parts, so the machine settings and nesting habits need to match that pattern from the start. We would also keep the training practical, with the operators working through their own parts rather than generic samples.
For this kind of fabrication environment, the useful details are the small ones: clamp position, bevel angle, cut sequence and how to pack jobs into the available tube lengths. That is where the time is won or lost. A machine can cut well, but the shop only benefits when the team knows how to use it on the jobs that actually land on the bench.
- Begin with the shop’s own part mix
- Train on actual jobs, not only sample shapes
- Check chuck alignment during handover
- Build nesting habits around short-run material use
Key facts
| Project type | Fibre laser tube and profile cutting setup for an exhaust fabricator |
|---|---|
| Town | Uitenhage |
| Material range | Round tube, square tube, rectangular tube, angle and channel |
| Supplied services | Site Assessment, Delivery Rigging, Machine Installation, Commissioning, Operator Training, Nesting Training |
| Technical features | Chucks, bevel head, nesting software, assist gas setup, safety checks |
| Project duration | Production handover completed in 3 weeks, starting with the site assessment |